


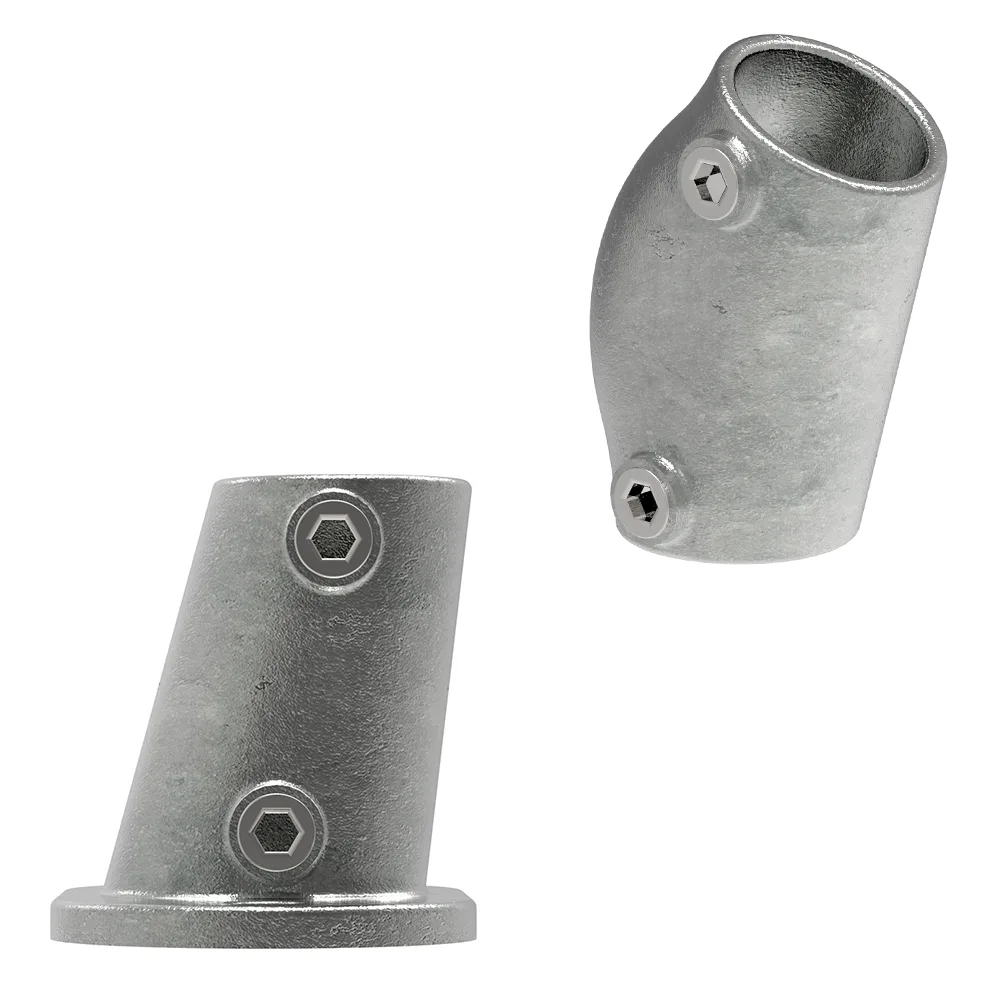


BRENK-fix® Base Holder
// Small brackets with a great sense of responsibility for stable structures
Filter products
-
 Pipe connector
- Ductile iron pipe fittings | T-pieces
- Ductile iron pipe fittings | Elbows
- Ductile iron pipe fittings | Cross pieces
- Ductile iron pipe connectors | Wall brackets / base plates
- Ductile iron pipe connectors | Handrails
- Ductile iron pipe coupler | Adjustable angle
- Ductile iron pipe couplings | Clamping rings / Flanges
- Ductile iron pipe couplings | Elbows
- Ductile iron pipe couplings | Extension pieces
- Ductile iron pipe couplings | Variable diameter
- Ductile iron pipe couplings | Accessories
-
 Stainless steel components
- Plate holder
- Glass and panel holders
- Stainless steel glass holder
- Glass balustrades
- Glass point holder
-
Stainless steel balustrades
- Cover rosettes | Post covers
- Anchor plates
- Spacers
- Balustrade posts | Post fixings
- Handrail bracket
- Handrail supports
- Mounting plate
- Support pins for handrail brackets
- Carrying handle
- Cross-bar bracket
- Pipe plug
- Post caps
- Klöpper-formed stainless steel bottoms
- Ronden
-
Pipe bends
- 90-degree elbow (welded fittings, Type 3 DIN)
- 45-degree elbow (welded fittings, Type 3 DIN)
- 180-degree elbow (welded fittings, Type 3 DIN)
- 90-degree elbow (welded fittings, Type 2 DIN)
- 90-degree elbow (welded fittings, Type 5)
- Pipe bends, special-angle fittings, welded fittings
- 90-degree elbow welded fittings
- T-piece welded fittings
- Connector, welded fittings
- Cross-piece welded fittings
- Connectors
- Decorative fittings
- Wall anchors | Floor anchors
- Clamping profile
- Glass and door systems
- LED handrail
- Balls | Cones | Cubes
- Stainless steel tubes | Bar stock
- Grooved pipes
- Push-fit fittings / End caps for grooved pipes
- Home | Garden
- Door construction | Door locks | Door handles
- Stainless steel cables | Wire rope clamps | Accessories
- Marine | Boat supplies
- Accessories | Screws | Adhesives
- Black Lane – Powder-coated stainless steel parts
- Sliding glass door
- BRENK-fix® Base Holder
- RAIL FIX Installation Guide
-
 Wrought iron
- Caps
- Anchor plates
- Weld-on strips
- Weld-on brackets
- Baroque programme
- Letters
- Drive-in plugs
- Raw steel Klöpper discs
- Handrail brackets + accessories
- House numbers
- Balls
- Plastic handrails
- Rings | Crosses
- Ronden
- Locks | Door handles | Other accessories
- Bar stock
- Pipe bends
-
Door hinges
- Gate hinge with welded sleeve
- Door hinge with slotted plate
- Door hinge with a long thread
- Door hinges, adjustable in 4 directions
- Self-closing gate hinges
- Threaded sleeves for gate hinges – spares & accessories
- with a weld-on plate
- Lifting gate fittings
- Adjustable wall plates for gate hinges
- Brass washers for hot-dip galvanised gate hinges
- Eye bolts, sold individually, for gate hinges
- for setting in concrete
- with an angled tab
- with a wall plate
- Fence posts
- Fence rails
- Decorative mouldings
- Enamel and paints
- Blacksmithing Basic Line
-
 Grating steps
-
 Grating
- Light well grating – Building Standard grating
- Grating fixing
- Grating, channel grating, suitable for vehicle traffic
- Industrial grating
- Press-welded grating
- Press platform grates with a step edge
- Safety toe cap
- Door frames / Frames
- Boat jetty grating
- Made-to-measure grating
- SEPGRATE designer covers
- Powder coating for gratings
- GRP
-
 Sliding gate fittings
- Sliding gate fitting 0 | Gate weight per leaf up to 90 kg
- Sliding gate fitting 1 | Gate weight per leaf up to 200 kg
- Sliding gate fitting 2 | Gate weight per leaf up to 400 kg
- Sliding gate fitting 3 | Gate weight per leaf up to 600 kg
- Sliding gate fitting 4 | Gate weight per leaf up to 1,200 kg
- Sliding gate fitting 5 | Gate weight per leaf up to 2,000 kg
- Full range
- All sizes fit 1 to 5
- Cast iron rollers for sliding gates
- Cantilever sliding gates
- Ground-mounted sliding gates
- Gate operators & control systems
- Sliding gate accessories
- Locks & Bolts
-
 Sealing plugs and protective caps
- Aluminium fences and aluminium gates
- New Products
Filter products


Available, : Lieferzeit 5-10 Werktage


Available, : Lieferzeit 5-10 Werktage


Available, : Lieferzeit 5-10 Werktage


Available, : Lieferzeit 5-10 Werktage


Available, : Lieferzeit 5-10 Werktage


Available, : Lieferzeit 5-10 Werktage


Available, : Lieferzeit 5-10 Werktage


Available, : Lieferzeit 5-10 Werktage


Available, : Lieferzeit 5-10 Werktage


Available, : Lieferzeit 5-10 Werktage


Available, : Lieferzeit 5-10 Werktage


Available, : Lieferzeit 5-10 Werktage


Available, : Lieferzeit 5-10 Werktage


Available, : Lieferzeit 5-10 Werktage


Available, : Lieferzeit 5-10 Werktage


Available, : Lieferzeit 5-10 Werktage


Available, : Lieferzeit 5-10 Werktage


Available, : Lieferzeit 5-10 Werktage


Available, : Lieferzeit 5-10 Werktage


Available, : Lieferzeit 5-10 Werktage


Available, : Lieferzeit 5-10 Werktage

Available, : Lieferzeit 5-10 Werktage


Available, : Lieferzeit 5-10 Werktage
BRENK-fix® base brackets – The professional fixing solution for flat bars and metal structures
BRENK-fix® base brackets are among the most popular fixing elements in modern metal construction – and for good reason: they offer a reliable, stable and visually appealing solution for installing flat bars and other metal profiles. Whether for balustrade infills, mesh structures, fences or bespoke architectural projects – with the BRENK-fix® base bracket, you can rely on tested quality and easy installation.
Robust, precise and versatile
The base brackets are made from high-quality steel or stainless steel and are usually fitted with an M8 internal thread. This allows flat bars to be securely bolted in place – without the need for time-consuming welding or drilling. Particularly for exposed structures, the BRENK-fix® bracket is an elegant solution that ensures a clean, finished appearance.
Thanks to their design, the brackets are suitable for both indoor and outdoor use. Available in hot-dip galvanised or V2A versions, they offer optimum protection against corrosion – ideal for railings on balconies, external staircases or terraces.
Simple installation – maximum stability
A key advantage of the BRENK-fix® system is its quick and straightforward installation. The brackets are screwed directly onto substructures or frame profiles, whilst the flat bar is connected to the base bracket using a screw – and that’s it. This saves time on site whilst ensuring a secure and durable connection that can withstand even high loads.
Typical applications:
- Balustrade infills with flat bars
- Fall protection and balcony railings
- Indoor and outdoor stair railings
- Fencing systems and privacy screens
- Lattice structures in architecture
- Bespoke metal and steel fabrications
Your benefits at a glance:
- ✔ Time- and cost-saving installation without welding
- ✔ Suitable for flat bars with M8 threaded connections
- ✔ Suitable for indoor and outdoor use
- ✔ Robust design for long-lasting stability
- ✔ High-quality workmanship with clean lines
- ✔ The ideal solution for professionals and discerning DIY enthusiasts
Order now from FeNau – direct from the experts
In the FeNau GmbH online shop, you’ll find BRENK-fix® base brackets in various designs – available in either galvanised or stainless steel – at attractive prices. You can rely on certified quality, fast delivery and expert advice from specialists.
Tip: Combine the brackets directly with matching flat bars, spacers or screw sets – all conveniently from a single source.
Detailed installation instructions: BRENK-fix® mounting system
With the BRENK-fix® mounting system, you can retrofit panel materials such as glass (3.0 mm to 12.76 mm), timber, plastic or Trespa® to existing railings securely and without welding.
Planning
note:
For optimum stability, we recommend using 4 point fixings for panel sizes up to 1500 x 900 mm.
-
Step 1: Positioning and securing the base bracket
Slide the solid base bracket (the main part of the structure) over the relevant baluster. The system is highly flexible and adapts to round bars, square bars and flat bars. Align the bracket precisely at the desired position. Then secure it permanently by tightening the upper clamping screw with a suitable Allen key. Thanks to its firm, all-round fit on the rail, the bracket now offers maximum stability and slip resistance. -
Step 2: Preparing the cover plate (material protection)
Before the plate is fitted, it must be prepared to prevent damage. First, place the flat, black rubber washer flush against the contact surface of the base bracket that has already been fitted. Then take your pre-drilled trim panel and insert the small spacer ring (the plastic sleeve) into the hole. This step is essential, as the sleeve reliably protects the delicate panel material from direct contact with the hard metal thread. -
Step 3: Precise fitting and alignment of the panel
Now carefully guide the prepared trim panel towards the securely fitted base holder so that the hole aligns with the holder’s thread. Once the panel is correctly positioned and lies flat, place the outer black rubber rosette (the one with the integrated flange) flush against the opening of the panel from the front. -
Step 4: Final screw-fastening and secure fixing
In the final step, take the outer, high-quality decorative cap together with the integrated threaded pin. Insert this element through the prepared rubber rosette and the panel directly into the internal thread of the base holder. Carefully tighten the decorative cap.
Important installation tip: Tighten the screw connection only until it is ‘firm to the touch’. Avoid using excessive force. Particularly when using glass panes, it is essential to ensure that no excessive stress is placed on the material to prevent cracks or breakages in the long term.
Done! Your new privacy or wind screen is now absolutely secure and stable, and boasts a professional, timeless look.